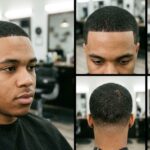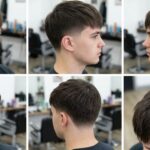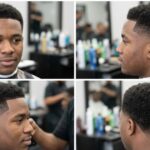
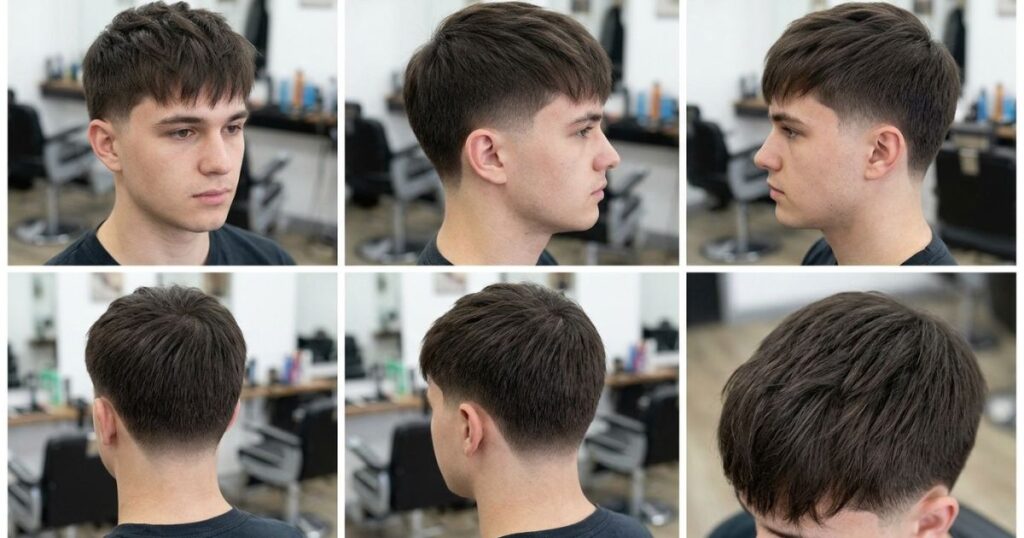
Mid taper fade for straight hair gives you clean edges without a harsh buzz. The hair shortens gradually around the sideburns, temples, and neckline, while the top stays long enough to style. Because straight strands show every line, the blend looks sharp, polished, and easy to read.
This guide explains what the cut is, how it compares with a low taper, mid fade, and high taper, and which of eight styles suits your hair. You will also get a barber script, home styling steps, and a realistic maintenance schedule so you walk in with a clear plan.
What is a mid taper fade on straight hair?
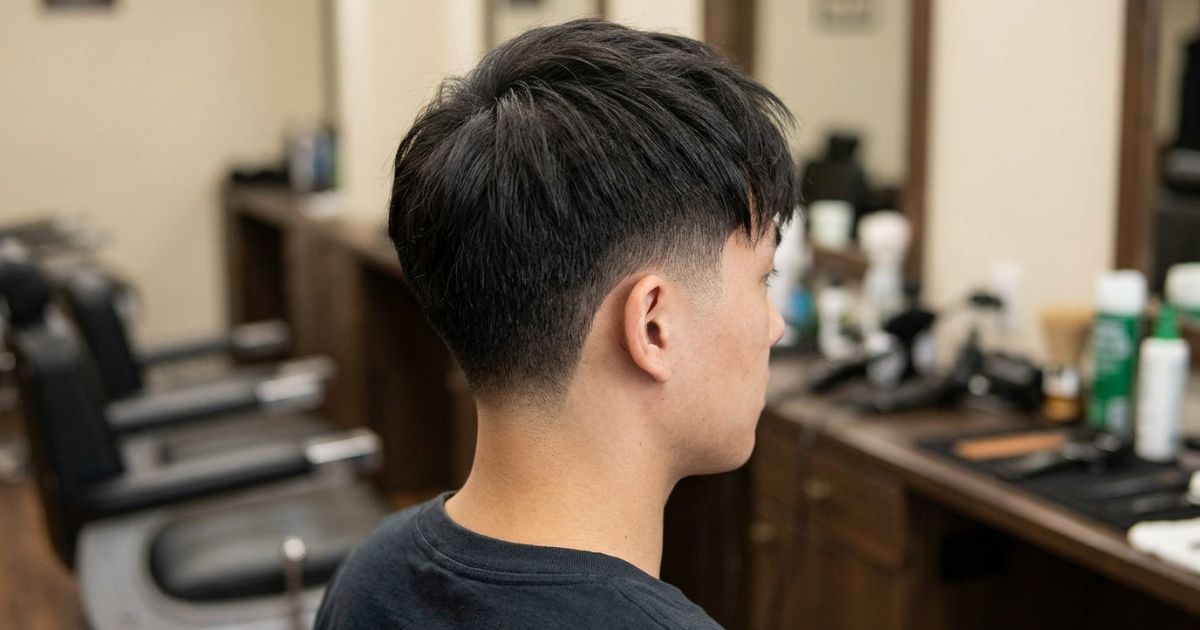
A mid taper fade on straight hair shortens the hair gradually around the sideburns, temples, and neckline, starting near the middle of the sideburn. The sides and back keep more length than they would in a full fade, and the top stays long enough to style.
Barbers place the starting point a little differently from shop to shop. Agree on it visually before the clippers come out.
What makes it a “mid” taper rather than a mid fade?
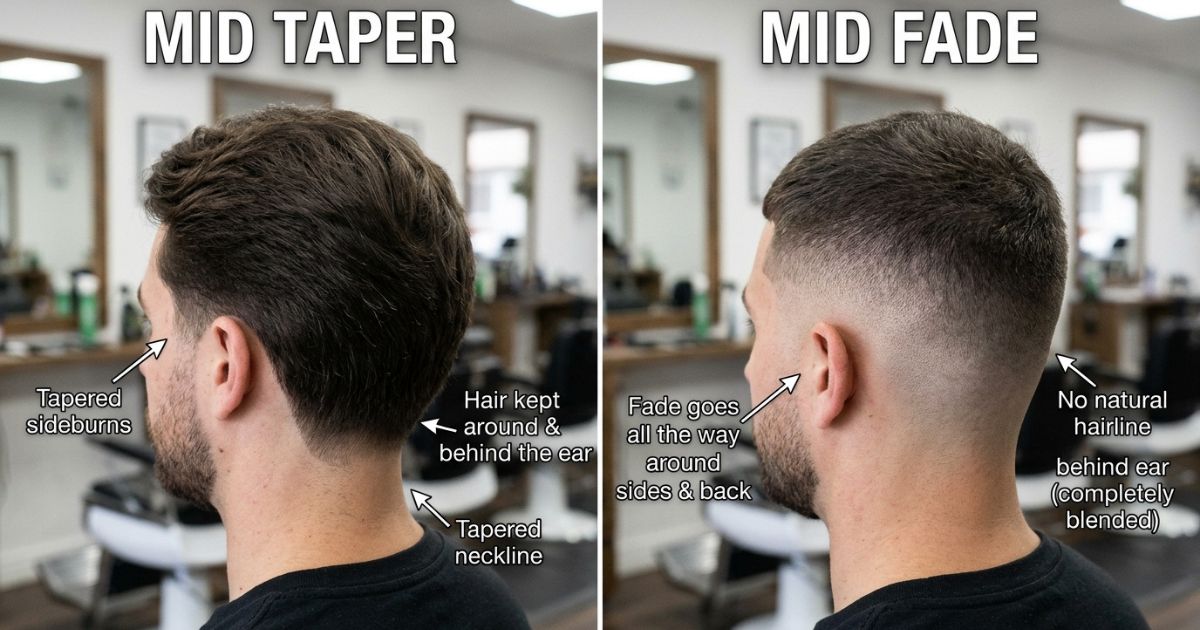
“Mid” describes height, meaning where the blend begins. “Taper” and “fade” describe how far the shortening goes. A taper stays subtle and mostly frames the edges. A fade carries the gradient across the sides and back, often down to very short hair or skin.
| Feature | Mid taper | Mid fade |
| Where hair shortens | Sideburns, temples, neckline | Sides and back, all the way around |
| Lowest point | Usually a short length, rarely bare skin | Often skin or a very close guard |
| Side weight | Most of it stays | Little remains below the blend |
| Contrast | Soft and subtle | Bold and high-contrast |
| Grow-out | Edges soften slowly | A visible band forms across the sides |
Read More:Burst Fade for Curly Hair: Styles, Fit, Barber Script and Care
How does straight hair change the finished look?
Straight hair has no curl pattern to break up the surface. That means blend lines, weight corners, and the neckline all show clearly, even from a few feet away.
- Fine or sparse hair: scalp can show at the temples sooner than the reference photo suggested.
- Thick, coarse hair: the sides can push outward above the blend unless the barber removes bulk inside the section.
- Cowlicks and strong parts: cutting direction matters more than taper height.
- Regrowth: new hair sticks out as a visible line instead of curling into the shape, so edges look untidy sooner.
Is a mid taper fade a good choice for straight hair?
Yes, for most men. The cut keeps enough weight on the sides to frame the head, and straight hair makes the neat transition look deliberate. It works best when the top has enough length to style.
| Pros | Cons |
| Clean edges without a stark fade | Needs a tidy-up every 3 to 5 weeks |
| Grows out more gracefully than a skin fade | Every uneven line shows on straight hair |
| Suits offices, events, and casual wear | Cowlicks can fight certain top styles |
| Works with short, medium, and long tops | Fine hair needs a softer finish to avoid scalp show-through |
It is a good fit if you:
- want sharper edges than a basic trim without a high-contrast fade
- keep enough top length for a crop, fringe, part, or quiff
- can book a tidy-up every few weeks
Think twice if you:
- want an even gradient all the way around (that is a mid fade)
- worry about visible scalp and would rather keep more coverage
- dislike using a dryer or any product at all
How it compares with a low taper, mid fade, and high taper
The real choice is between subtle edges and all-around contrast. Height decides how visible the cut looks from a distance.
| Cut | Where the blend starts | Contrast | Typical clean-look window | Best for |
| Low taper | Low on the sideburn, near the ear and neckline | Very subtle | About 4 to 5 weeks | Conservative workplaces, minimal change |
| Mid taper | Around the middle of the sideburn | Moderate | About 3 to 5 weeks | A balanced, polished look |
| Mid fade | At or above the ear, around the sides | High | About 2 to 4 weeks | Strong, even contrast |
| High taper | Near the temple | Moderately high | About 3 to 4 weeks | Sharp edges on short or medium tops |
The time windows are barber estimates, not rules. Hair growth speed and your standard for “fresh” change the number. Because shops define heights differently, ask the barber to point to the blend line on your own head.
What to decide before booking the haircut
Four choices shape the result more than any clipper number: the top style, the blend height, the lowest point, and how the neckline finishes.
What top length and style do you want?
Pick the top first. The style decides the length, not the other way around.
| Top style | Approximate top length | Notes |
| French crop | 1 to 2 inches | Cut forward, usually textured |
| Crew cut | 0.5 to 1.5 inches | Shortest and fastest to style |
| Textured fringe | 2 to 3 inches | Needs layering to avoid a flat block |
| Side part | 3 to 4 inches | Follows your natural part |
| Quiff | 3 to 5 inches | Longer at the front for lift |
| Curtains or middle part | 4 inches and up | Needs a calm crown |
| Slick back | 4 inches and up | Sides need enough bulk to hold shape |
| Blowout | 4 inches and up | Works best on thicker hair |
These are rough ranges. Your barber will adjust them to your hairline and growth pattern.
How short and how high should the taper go?
Treat height and shortness as two separate requests. Height is where the blend begins. Shortness is how close the lowest point gets to the scalp.
- Height: the middle of the sideburn for a mid taper.
- Lowest point: a soft shadow, a guard length, zero, or skin.
- Side weight: how much length stays above the blend.
- Neckline: natural and tapered, or squared off.
- Hairline: left natural, or sharpened with a lineup.
Most clipper guards follow this standard scale:
| Guard | Length (inches) | Length (mm) |
| #0.5 | 1/16 | 1.5 |
| #1 | 1/8 | 3 |
| #2 | 1/4 | 6 |
| #3 | 3/8 | 10 |
| #4 | 1/2 | 13 |
Hair can come off later, but it cannot go back on. When unsure, start longer.
Which mid taper fade styles work best with straight hair?
The taper stays the same across all eight styles. The top changes the length, direction, and daily effort.
| # | Style | Styling time | Best for |
| 1 | Textured French crop | Under 1 minute | Medium to thick hair |
| 2 | Crew cut | Under 1 minute | Fine to medium hair |
| 3 | Textured fringe | 2 to 3 minutes | Medium to thick hair |
| 4 | Side part | 3 to 4 minutes | Fine to medium hair |
| 5 | Quiff | 5 to 8 minutes | Medium to thick hair |
| 6 | Curtains | 2 to 3 minutes | Medium to thick hair |
| 7 | Slick back | 3 to 5 minutes | Medium to coarse hair |
| 8 | Blowout | 8 to 12 minutes | Thick, dense hair |
Short tops that need the least daily work
Textured French crop
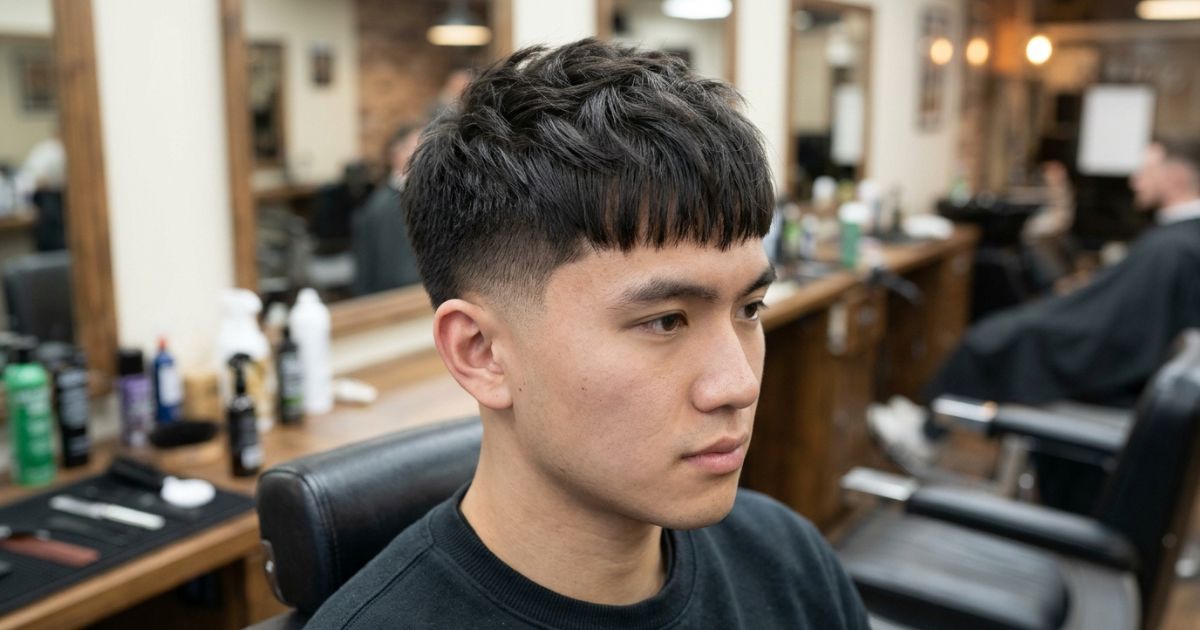
Short, point-cut for separation, and worn forward. The taper keeps the temples clear. It suits thicker hair and foreheads you prefer to partly cover. A strong front cowlick will fight it.
Crew cut
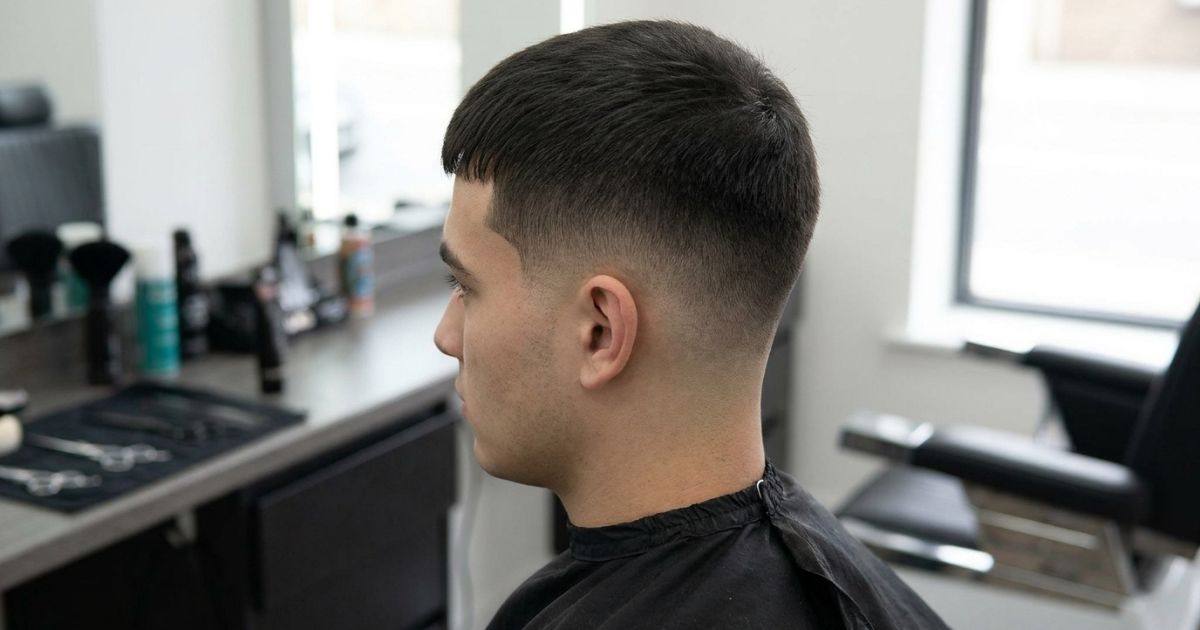
Short at the sides and slightly longer at the front, brushed up and back. It holds its shape with almost no effort. Very short straight hair can lie flat, so ask for a little extra length at the front.
Medium-length styles that add texture or structure
Textured fringe
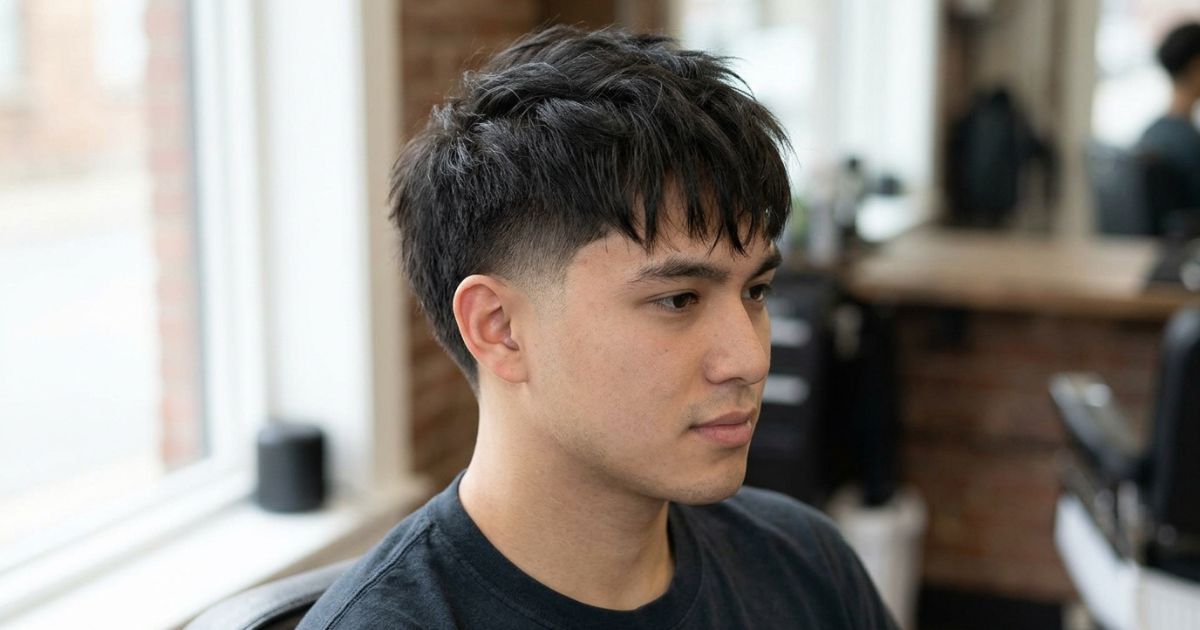
Layered through the interior so the front moves instead of sitting like a curtain of one length. Keep it above the eyebrows. Past that, it stops looking textured and starts looking heavy.
Side part
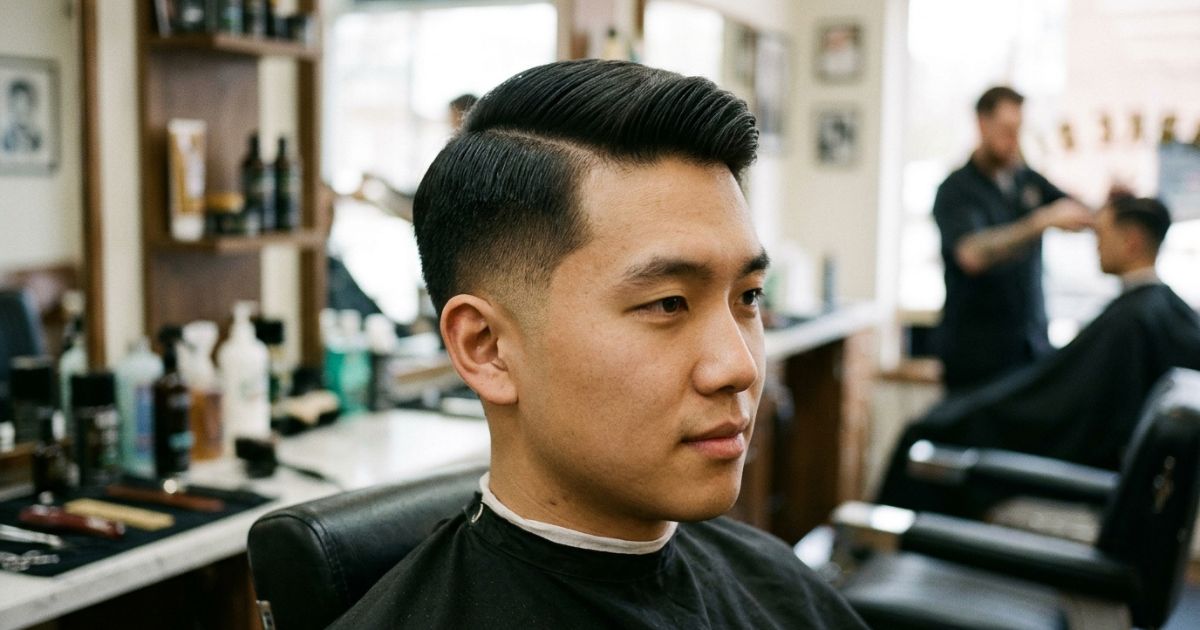
The most formal option. The top combs across in the direction your hair already grows, and the taper gives the part a clean edge. A part cut against your growth pattern will collapse by midday.
Quiff
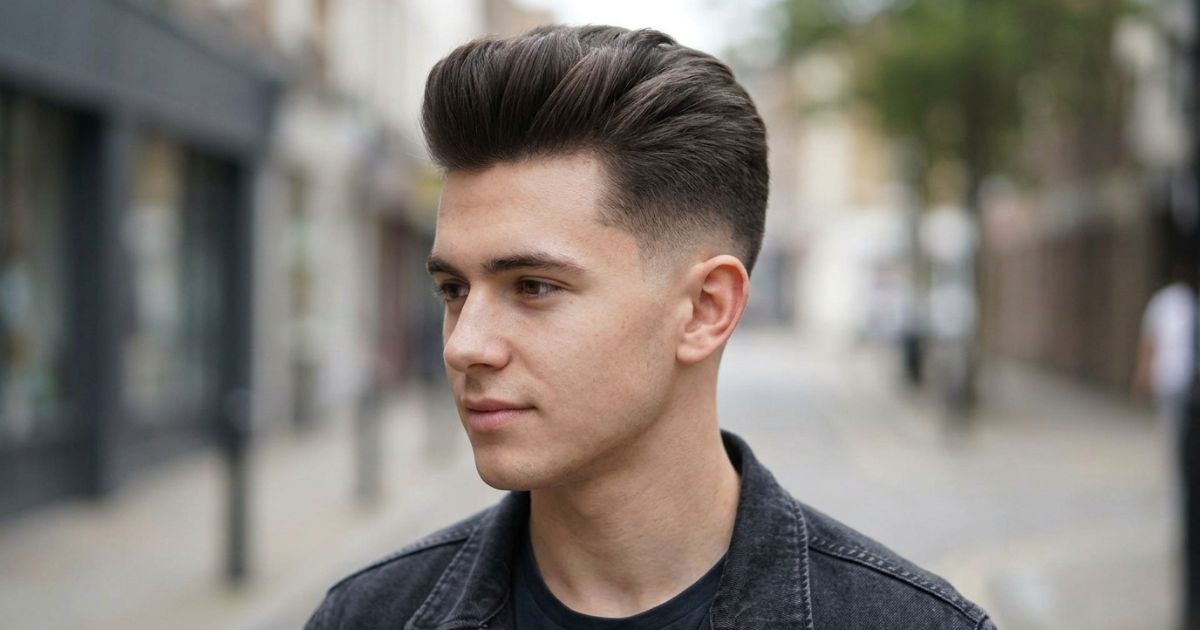
Length builds toward the front and lifts up and back. Straight hair will not hold that height alone, so expect to use a dryer and a firm paste.
Longer styles that preserve flow and movement
Curtains or middle part
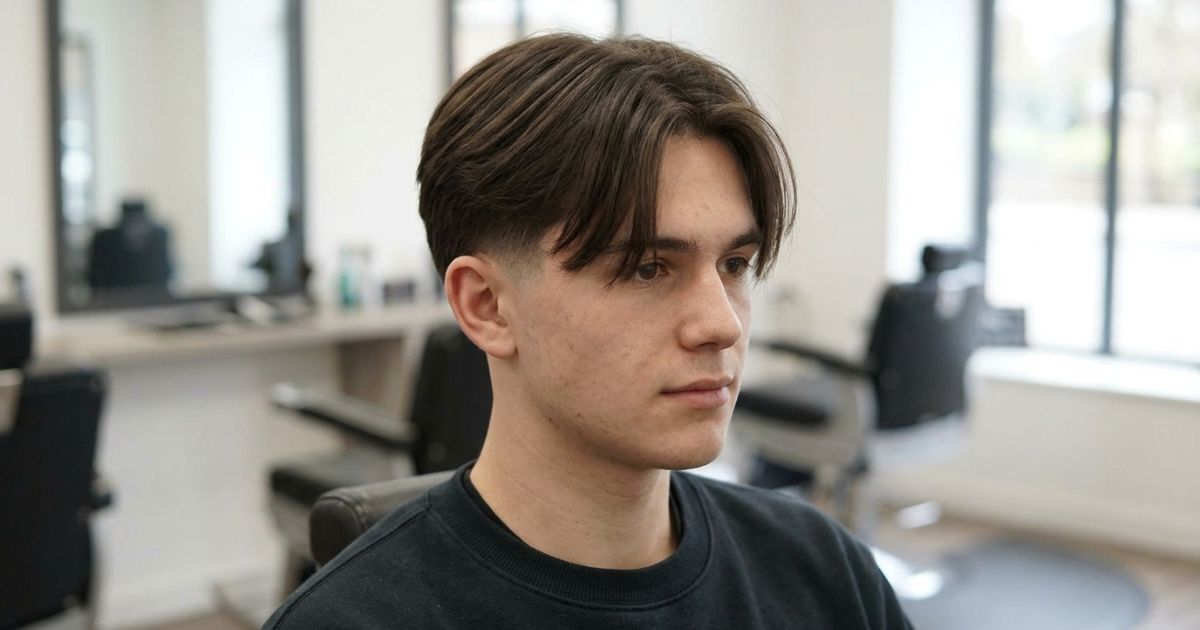
The top splits down the centre and falls to both sides. Straight hair hangs where you place it, which makes this one of the easiest long looks to wear. An off-centre crown can take weeks to train.
Slick back
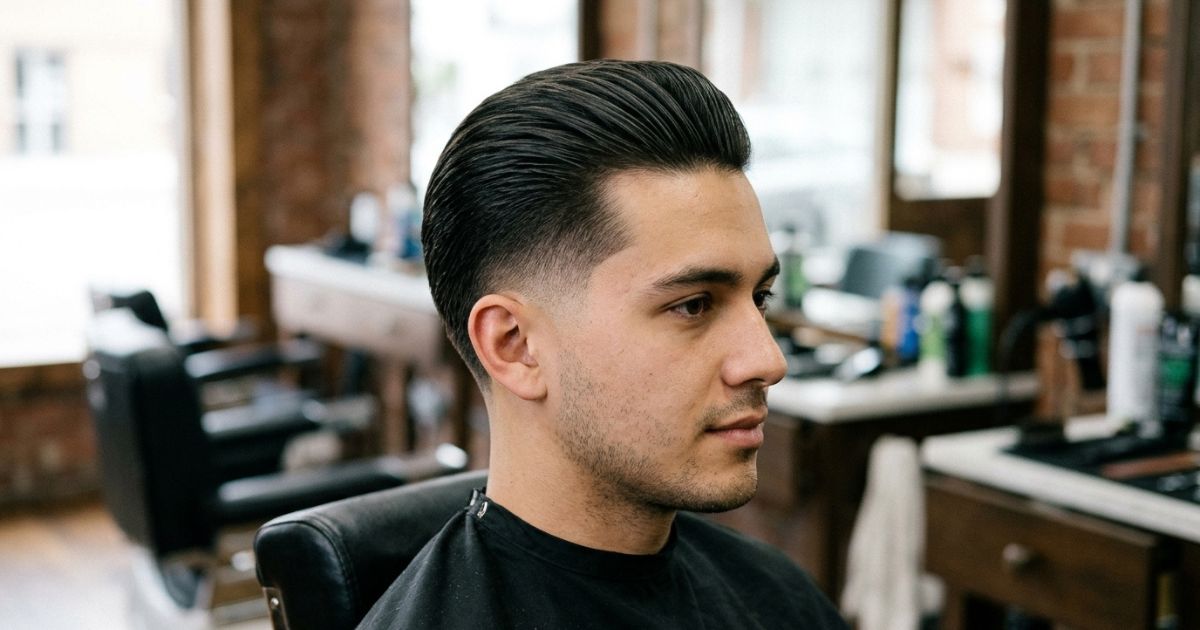
Everything travels backward, polished or loose. The sides above the blend need enough bulk to hold the line. Comb it back while damp, then finish with a matte product.
Blowout
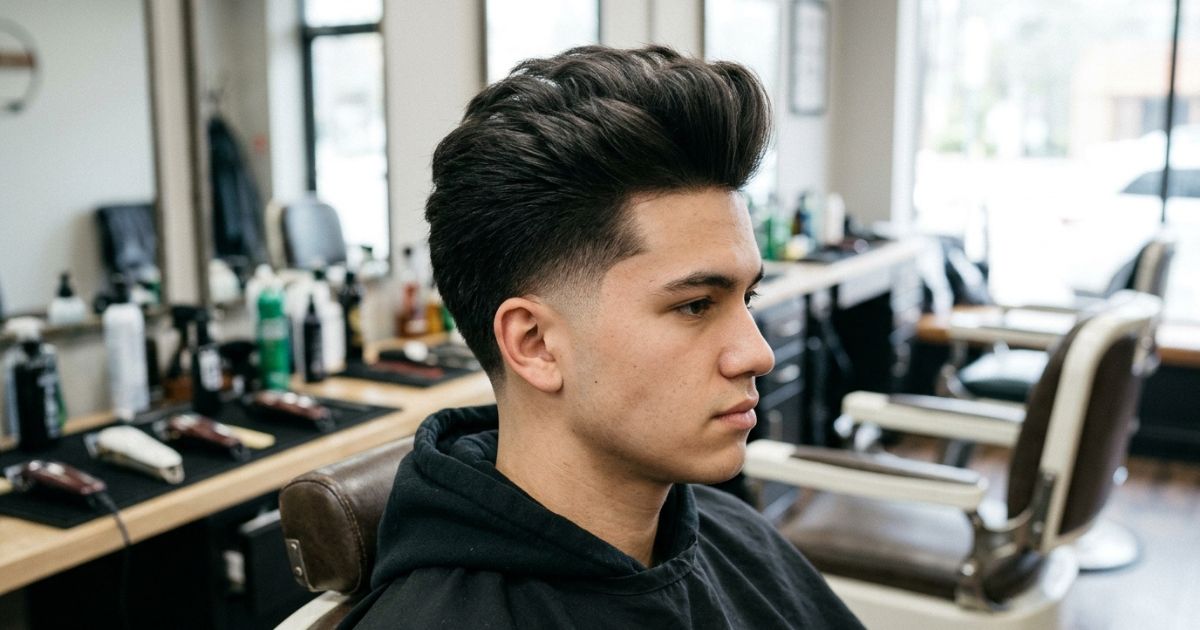
Volume lifts up and out across the top while the taper keeps the sides tidy. It demands the most effort: a dryer, a pre-styler, and repeat heat most mornings. Skip it if you want to limit heat.
Choosing the right version for your hair and face
Start with how your hair behaves. Density, strand thickness, and growth direction narrow eight styles faster than any face-shape chart.
How density and strand thickness change the cut
Density is how many hairs you have. Strand thickness is how wide each hair is. They cause different problems, which is why two men with “thick” hair can get opposite results from the same cut.
| Hair type | What shows on straight hair | What to ask for |
| Fine and sparse | Scalp at the temples, visible blend lines | A softer blend and more coverage above it |
| Fine and dense | Looks full, then falls flat by midday | Layering for lift, short or medium tops |
| Coarse and dense | Sides stick out above the taper | Bulk removed inside the section, not a higher taper |
| Pin-straight and slippery | Every cutting line and weight corner | Point-cut ends and a gradual blend |
How face and head shape influence the silhouette
Face-shape advice is a guideline, and barbers do not always agree on it. The reliable principle is simple: height on top makes a face look longer, and width at the sides makes it look wider.
| Face shape | Top styles that tend to flatter | Why |
| Oval | Almost anything | Balanced proportions |
| Round | Quiff, brush-up, side part | Added height lengthens the face |
| Square | Textured fringe, side part | Softer lines offset a strong jaw |
| Long or oblong | Fringe, curtains, textured crop | Less height keeps the face from stretching |
| Heart | Fringe, side part | Balances a wider forehead |
Also check your head shape in a side-profile photo. A prominent crown or back of the head may call for a bit more length at the nape.
How much styling and upkeep can you commit to?
Two budgets decide this: minutes each morning and visits per month. Choose the style that fits the smaller one.
| Commitment | Styles that fit | What it costs |
| Low | French crop, crew cut | Small amount of product |
| Medium | Fringe, side part, curtains, slick back | Light drying and one product |
| High | Quiff, blowout | Daily heat and a pre-styler |
What to ask your barber for
Give the height, the lowest point, and the top style, in that order. Then ask the barber to show you the blend line on your own head before cutting.
- Show three reference photos: front, side, and back.
- Say that you want a mid taper, and whether it stays at the temples and neckline or carries around.
- Choose the lowest point: shadow, a specific guard, zero, or skin.
- Say how much weight should stay on the sides.
- Describe the top by style (crop, fringe, part, quiff), not by inches alone.
- Agree on the neckline and whether you want a lineup.
“I’d like a mid taper, temples, sideburns, and neckline only. Keep the weight through the sides. Take the shortest point down to a soft shadow, not skin. Natural neckline, no hard lineup. Leave the top long enough to comb across my part.”
For a low-effort version: “Mid taper, shortest point at a number 2, textured crop on top, natural neckline.”
How to style a mid taper fade on straight hair at home
Straight hair sets as it dries, so how you dry it matters more than which product you use.
- Blot, don’t rub. Pat the hair with a towel to cut down on frizz and breakage.
- Let it air-dry a little. Start styling when it is damp, not dripping.
- Direct the airflow. Dry forward for a crop, up and back for a quiff, and across for a part.
- Use low or medium heat. Add a heat protectant if you blow-dry regularly.
- Finish on dry hair. Use a small amount of product and work it through the roots and ends.
| Goal | Product type | How to use it |
| Light body | Lightweight cream | Apply to damp hair |
| Separation and matte finish | Paste or clay | Warm between palms, then run through dry hair |
| Polished part or slick back | Pomade | Use sparingly on damp hair |
| Extra grip before drying | Sea salt or texture spray | Mist on damp roots |
Start with a pea-sized amount. You can always add more, but you cannot easily take it out.
How often does a mid taper fade need maintenance?
Plan on a visit every 3 to 5 weeks. A taper is more forgiving than a skin fade because there is no wide band of short hair that grows out across the sides.
| Time since cut | What you will notice |
| Days 1 to 7 | Sharpest edges and cleanest neckline |
| Weeks 2 to 3 | Sideburns and neckline begin to soften |
| Weeks 3 to 5 | Blend starts to close up, sides gain width |
| Week 6 and beyond | Shape is lost, top may start to separate unevenly |
If you like crisp edges, book a quick neckline and sideburn cleanup at the 2 to 3 week mark and a full cut every 4 to 5 weeks. Take a photo of your cut each week for one cycle to find your personal interval.
Frequently asked questions
Can a mid taper fade work with fine or thinning straight hair?
Usually yes. Ask for a softer blend and a guard-length lowest point instead of skin to keep coverage.
What if the sides stick out as the hair grows?
That is usually bulk, not taper height. Ask your barber to remove weight inside the section above the blend.
Does a mid taper fade have to go down to skin?
No. The lowest point can be a shadow, a guard length, zero, or skin, depending on how bold you want it.
Can I get this cut with a cowlick or strong natural part?
Yes. Point it out during the consultation so the barber can cut the top with your growth direction.
Is a mid taper fade professional enough for work?
Yes. With a natural neckline and a side part or short crop, it reads clean and conservative.
How long should my hair be on top?
It depends on the style, from about 0.5 inch for a crew cut to 4 inches or more for flow.
Is a mid taper or a low taper better for straight hair?
A low taper is subtler, while a mid taper adds more shape. Choose by how much contrast you want.
Conclusion
A mid taper fade suits straight hair because it keeps the sides full while cleaning up the sideburns, temples, and neckline. The right version depends on your hair density, top length, and daily routine, not on trends alone. Choose the style you can realistically maintain between visits.
Before you book, save photos from several angles, decide how short the lowest point should go, and ask your barber to mark the blend height on your head. Then plan a trim every three to five weeks to keep the edges crisp. That routine keeps the cut looking intentional.